Alternative text for images
People who use screen readers will have a much richer experience if all images have an alternative text description.
This simple, but valuable action will help describe the image to those that are blind or have a sight impairment.
By following this short guide we hope to show you how to apply alternative text descriptions to your images.
How to add an alternative text description for an image
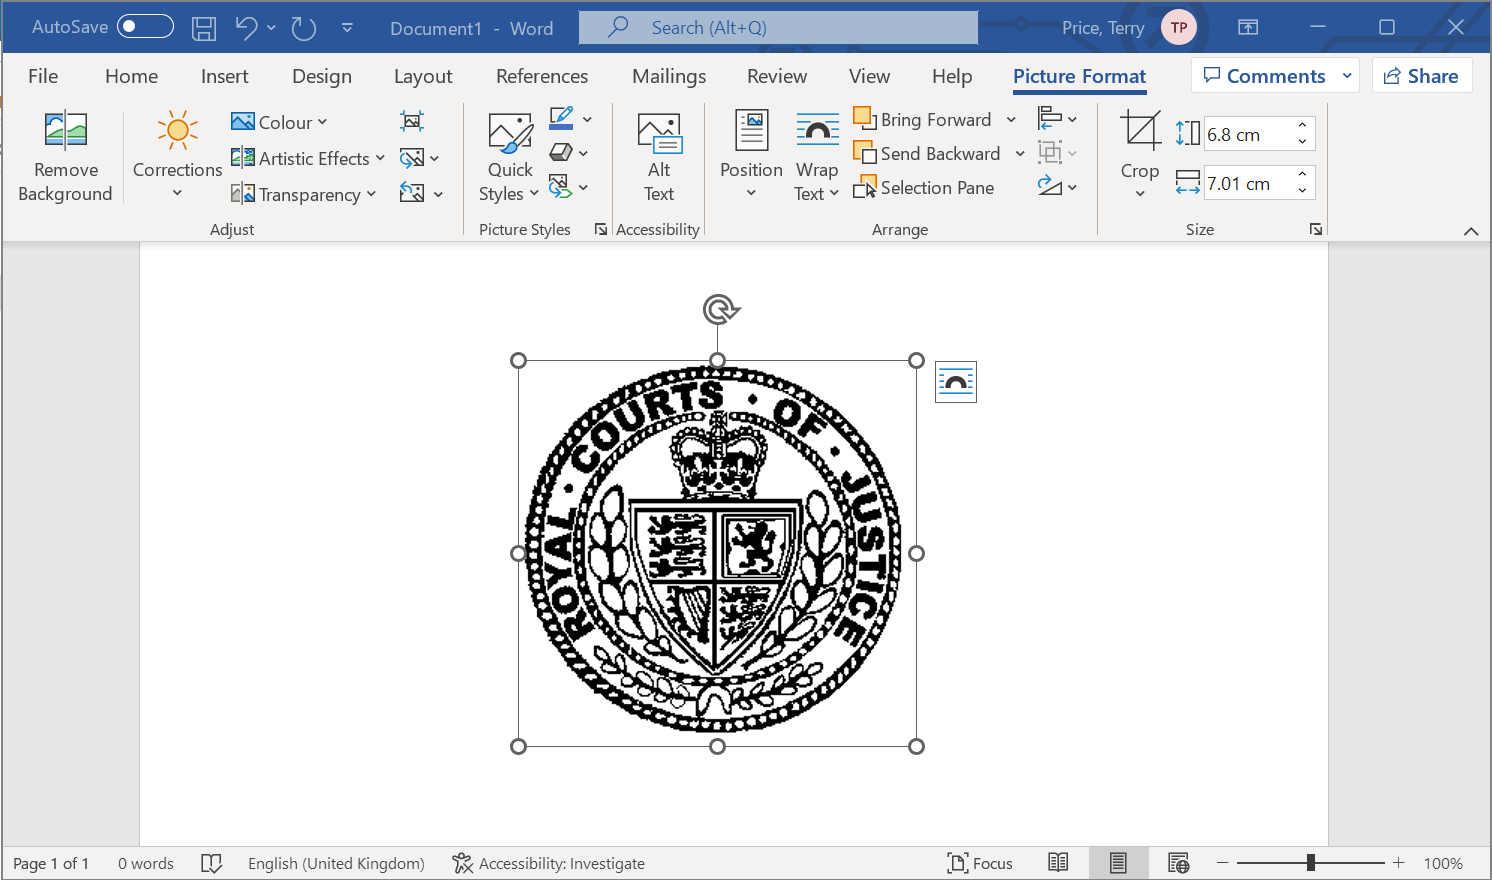
Import an the image in to your document in the usual way.

Upon importing an image into the document, the next step is to apply the alternative text description to the image while it is still selected.
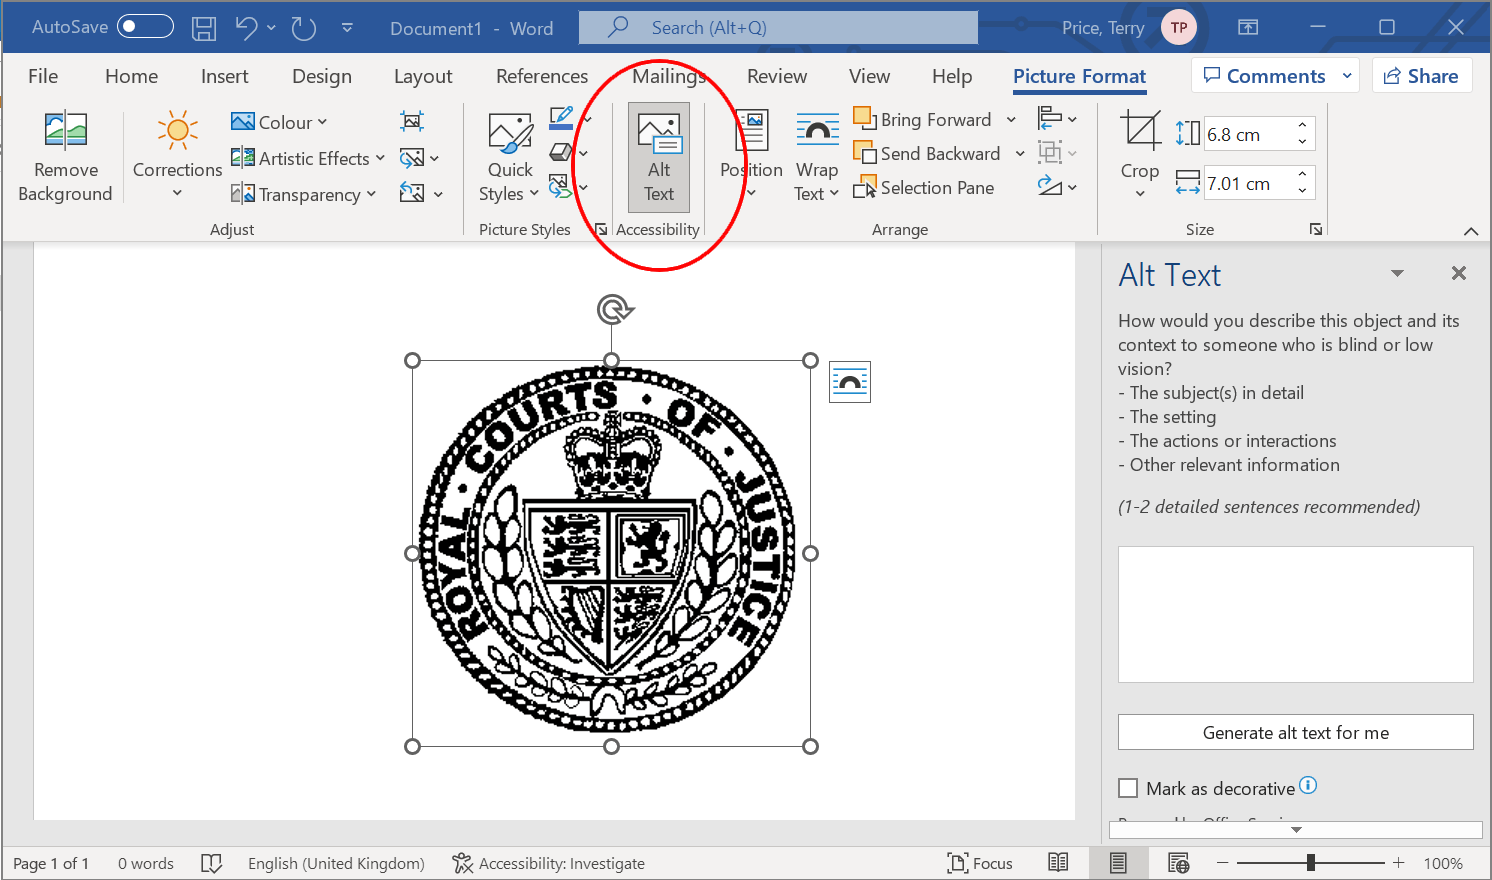
Select the top menu item called 'Alt Text' under the 'Accessibility' panel as shown below. This will open a side panel on the right for you to input a suitable description for the image.
Please note: Your own MS Word program layout may slightly differ to the example below, but this option will be available to you in any version of MS Word.

When writing an alternative text description there are a few things to bear in mind:
- Keep the description brief; be specific and succinct
Stick to as few words as possible. One or two short sentences should be enough to describe an image. - Don't be overly descriptive
A long description which contains too much detail can be a barrier for screen reader users. Look to avoid unnecessary details about colours and appearance unless it's relevant of course. - Think about the fuction of the image
Ask yourself what message am I trying to convey by including it? What further information and meaning will be missed if I dont include this description. - Use normal punctuation
Normal punctuation such as commas and full stops can make the text easier for screen readers (and end-users) to undertand.

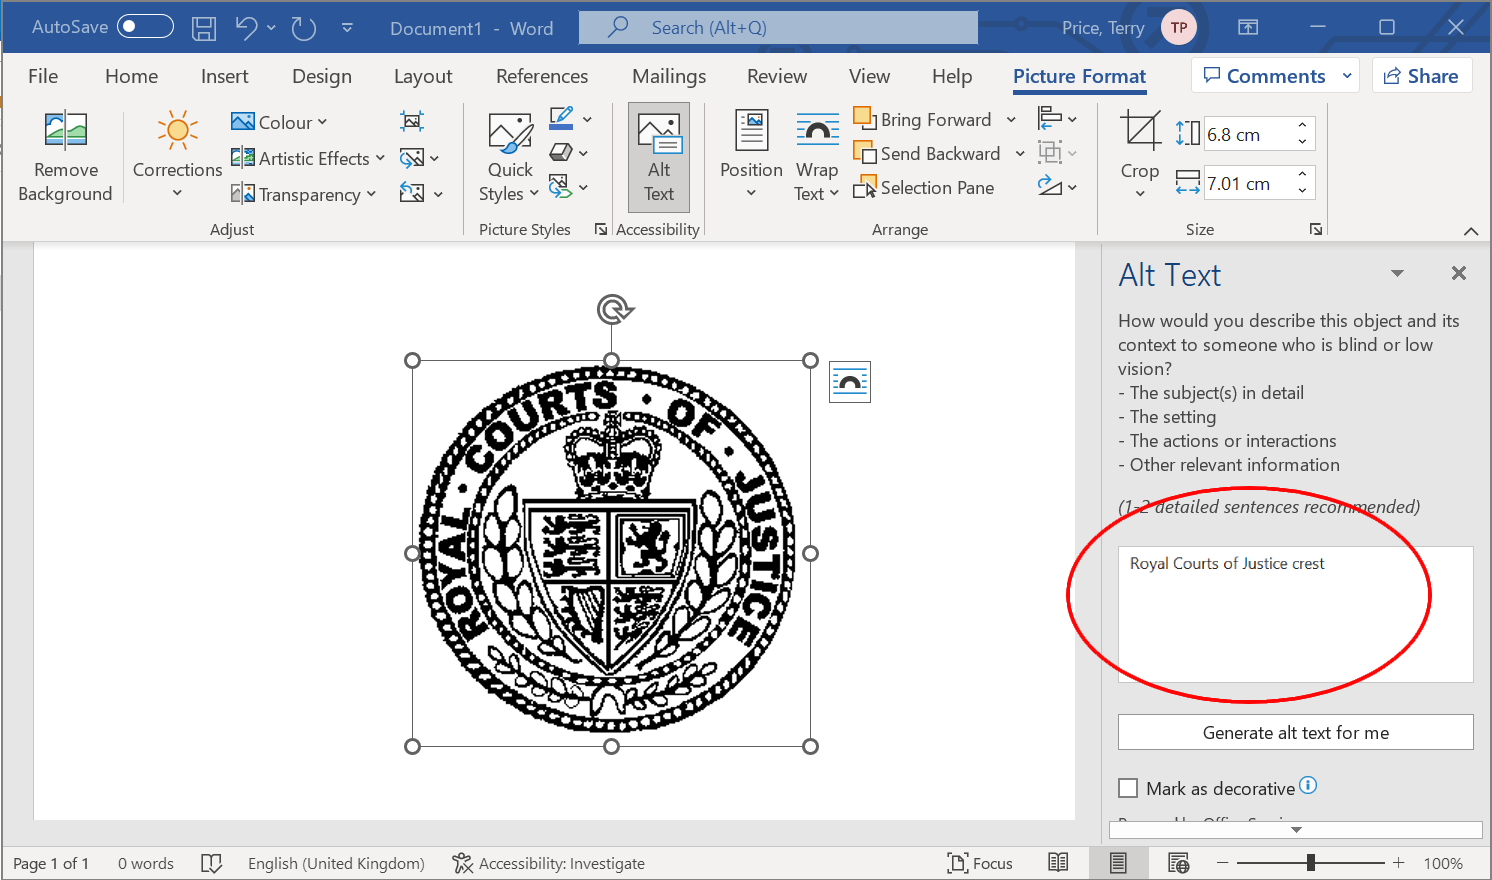
When the alternative text has been written in to the side panel, deselect the image and the description should be applied to the image. You may want to check this by reselecting the image again and see if the text description reappears in the side panel.
